There are many reasons why people love the Dark Souls series and other From Software titles, such as Bloodborne and Sekiro. The first of which is the difficulty – though we acknowledge that this is also why some people curse these games. However, no one can deny that the worlds found within these games are beautiful, and they come equipped with intriguing characters and fascinating lore. Yet, there’s one other thing that makes this series a standout, and that’s the bosses. Love them or hate them, Dark Souls is full of incredible adversaries that push you to the limit.
So, we’re looking at the Dark Souls bosses, the big bads that began haunting players back in 2011. Some of these characters went on to inspire future boss fights, not only in Dark Souls 2, 3, and other From Software titles, but instead, they influence many great encounters from other titles. In this guide, we not only tell you what the Dark Souls bosses are, but where you can find them, and, most importantly, how to defeat them.
If you’re after more content like this and are a Zelda fan, we suggest taking a look at our The Legend of Zelda: Skyward Sword bosses guide. In it, we explain who they are and offer advice on the best strategies to take them down. Oh, and don’t forget to check out our Dark Souls bonfire guide, you’re going to need all the help you can get facinng these bosses, and that includes levelling up.
Okay, now it’s time to get onto the Dark Souls bosses. First things first, not all of these encounters are compulsory for you to complete the game. Some are entirely optional, and are easily missable if you’re not aware of their existence. However, we’d argue that some of the best fights this game offers are optional.
Every Dark Souls boss
Compulsory Dark Souls bosses
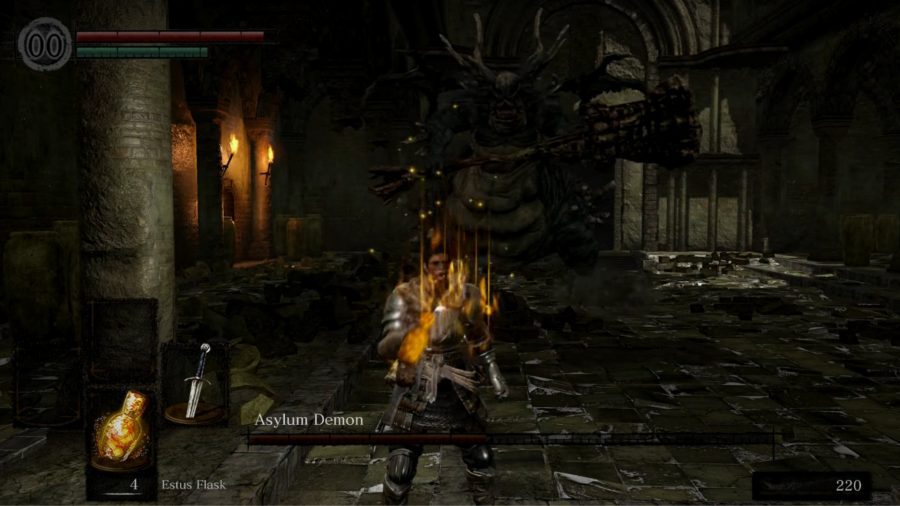
Dark Souls Asylum Demon
Drops:
If you defeat the Asylum Demonthe second time around, you get the big pilgrim’s key. However, if you choose to fight this beast as soon as you see it, and you win, you can find the key on Oscar of Astora (the character you get the Estus flask from).
You can also grab the Asylm Demon’s weapon – demon’s great hammer – if you defeat it upon your first meeting.
Attacks:
This move involves the Asylum Demon launching into the air, then smashing itself, and its hammer, into the ground.
The boss only uses this move if you keep your distance. The Asylum Demon raises its weapon, and then performs a straight attack that has great reach and is capable of inflicting AoE damage.
A relatively simple attack, the hammer drive is when the Asylum Demon raises its hammer when you’re in close range. Slamming it down for good damage.
Lore and strategy:
Within two minutes of starting the game, you come across a big, angry, hammer-wielding demon that, frankly, is in with a chance of winning the award for best boss booty. When you first enter the room housing this creature, it’s not there, and this is a good thing considering you’re weaponless. However, it does drop in, but you can keep going through an open door.
After some exploration, you find your starting weapon, and receive the trusty Dark Souls Estus flask – this is a lifesaver, literally. Now, it’s time to put these to use by dropping back into the boss arena where an angry Asylum Demon is waiting for you.
Firstly, make sure you perform a plunging attack as you drop into the fight. It allows you to deal a considerable amount of damage. Next, we suggest running in and baiting a certain move, one that sees the boss jump into the air and land on its ass. Now, it’s time to run in and dish some damage. Alternatively, you can stray around it, landing some hits on its booty as you do so.
While its size can prove intimidating for new players, don’t panic. This demon will crumble. Oh, and if you happen to choose firebombs as your starting gift, they can deal some significant damage to the Asylum Demon.
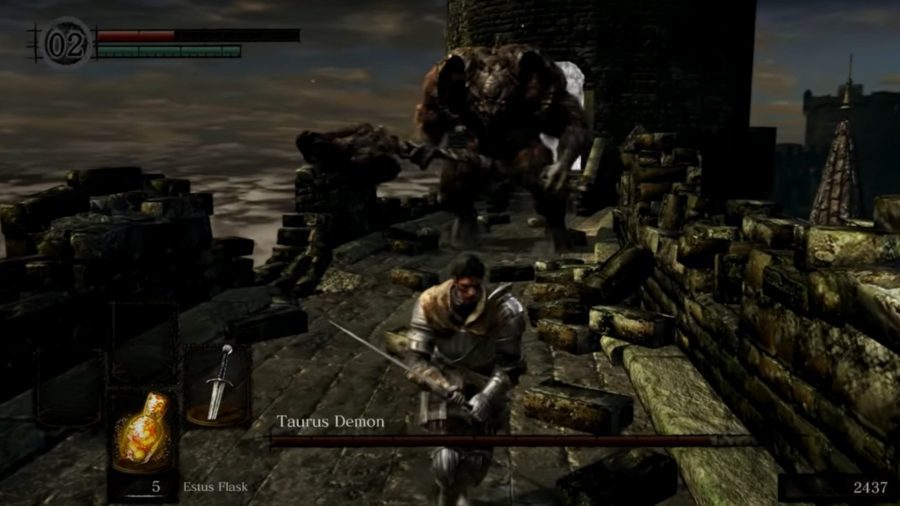
Dark Souls Taurus Demon
Drops:
- 3,000 souls
- one humanity
- one homeward bone (immediately sends you to the last bonfire you sat at)
While it’s not a guarentee, you have a chance to get the demon’s greataxe as a drop. If you really want this weapon, you can head to the Demon Ruins later in the game and farm the Taurus Demons there.
Attacks:
The Taurus Demon raises its weapon, only to thrust it into the ground.
This attack sees the Taurus Demon raise its weapon, then slamming it down in the direction it’s facing.
As the name indicates, the boss jumps at you, smashing its greataxe into the ground.
The Taurus Demon swings its weapon horizontally in front it.
Lore and strategy:
There isn’t really much to say about this boss in terms of lore. You find it at the end of the Undead Burg on a bridge. That’s right, the Taurus Demon is essentially a glorified tollman, guarding the bridge that you need to cross to progress.
This fight can be incredibly easy. The only real concern is rolling off the bridge in an embarrassing yet hilarious death. Having said that, the Taurus Demon is just as capable of accidentally slipping to its demise. However, if you want a solid strategy, turn around and climb the ladder as soon as you enter the fog gate. Once you reach the top, take out the archers. Next, jump down and run across the bridge to begin the fight.
Once the Taurus Demon shows up, you can run back to the ladder, climb it, then jump on the boss’s head with a plunging attack for maximum damage – rinse and repeat until the demon falls. Oh, and if you want to increase your damage output or go toe to toe with the monster, we suggest using lightning resin, as this boss is weak to that element. You can find some while exploring Undead Burg.
It’s worth noting that this boss becomes a regular enemy in the late game, and can be found in the Demon Ruins.
Dark Souls Bell Gargoyle
Drops:
- 10,000 souls
- one twin humanities
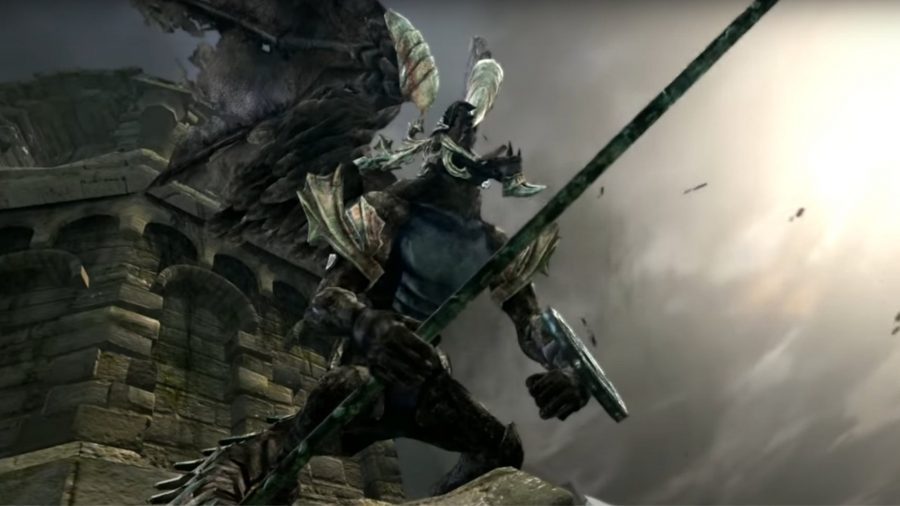
- Gargoyle’s halberd
Like the previous two bosses, you have a slight chance of getting your hands on one of the bosses items. In this case, you may get the Gargoyle shield, or the Gargoyle helmet. Oh, and so long as you cut its tail off during the fight, you can get the Gargoyle tail axe.
Attacks:
Like the name implies, this sees one the Gargoyles attempt to hit you with its tail.
Not only do the Bell Gargoyles use their halberds, but they can unleash a stream of fire from their mouths.
It’s all in the name here. The boss swings it’s halberd in front of it, and given the weaponn type, these attacks have some impressive reach.
Lore and strategy:
Okay, so this is where Dark Souls really begins. This is likely to be the first time you feel truly challenged, and that’s with good reason – because there are two of these buggers for you to take on. The first half of the fight isn’t so bad. You’re on a relatively spacious rooftop – though do remember gravity is a thing, and falling means death – so you have a bit of room to manoeuvre when facing one gargoyle.
However, after depleting half of its health bar, a second gargoyle joins the fight. This is where things get a little tricky. The best solution to this unfair situation is to continue wailing on the first gargoyle. If your damage output is high enough, you might be able to finish it off before its buddy has the chance to do anything.
The Bell Gargoyles can use a flamethrower-type attack. If you roll to the side, this leaves them vulnerable to attack. Furthermore, it uses a halberd, which does have good reach, though dodging its swipes is easy enough, or you could just block them with the correct shield. Despite them using fire attacks, the boss is vulnerable to the element, so either embrace your inner pyromancer or stock up on firebombs.
If you just can’t handle both of the gargoyles alone, you can summon Solaire of Astora to help. His sign is just outside the fog gate, but remember, you need to be human for his signal to appear. Also, it becomes easier to attack the tail should your buddy be distracting your foe, making it easier to chop it off and grab yourself a new weapon.
Dark Souls Capra Demon
Drops:
- 6,000 souls
- Key to The Depths
- One humanity
- One homeward bone
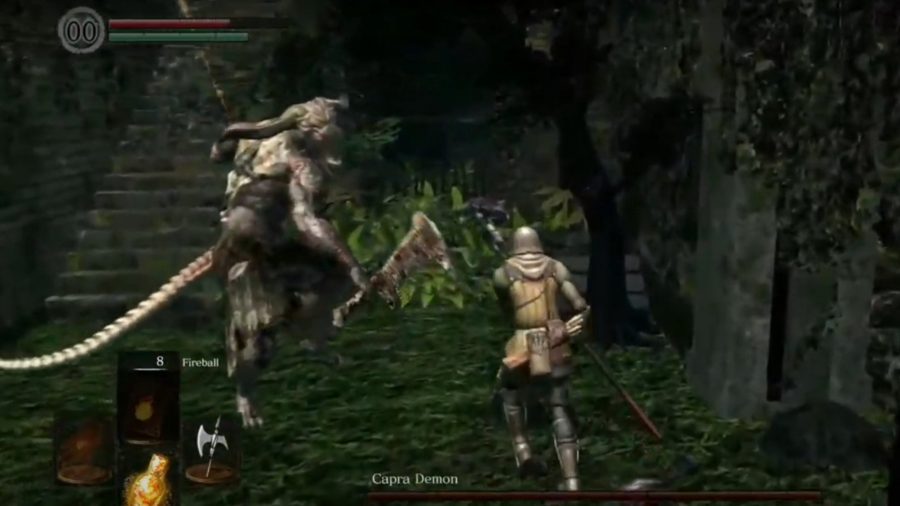
There’s a rare chance that the boss’s weapon will drop upon defeat. However, if it doesn’t, you can head to the Demon Ruins later in the game to farm the Capra Demons you find there.
Attacks:
The Capra Demon places its machetes together and proceeds to swing at you
This attack sees the boss perform cosecutive horizontal swings with its weapons
As with most bosses, the Capra Demon has one that allows it to close the distance between you. With the machete slam, the boss jumps into the air, before slamming its machetes down with brute force.
Lore and strategy:
Kill the dogs. I cannot stress this enough. The boss arena is laughably small, and the Capra Demon isn’t alone. At the start of the fight, two dogs will charge you. The best way to deal with them is to make a mad dash to the left side of the arena, run up the stairs and go across the ledge. The dogs will shortly follow, allowing you to get rid of them.
As for the Capra Demon itself, this dual-wielding beast is weak to fire, so bring those firebombs and charcoal resin. The boss also has a long wind up for its horizontal strikes, giving you plenty of time to either block or get out of the way. If you don’t fancy going mano-a-mano with it, you can use the stairs to your advantage. Simply run up them, go across the ledge, plunge onto the demon – rinse and repeat until you vanquish the foul thing.
Much like the Taurus Demon, this boss becomes a standard enemy during the game’s later stages. So, if you like the look of its machetes, head to this area when you can to farm the creature, grab some souls, and possibly, its weapon.
Dark Souls Chaos Witch Quelaag
Drops:
- 20,000 souls
- Soul of Quelaag
- one twin humanities
Upon defeating the Chaos Witch, you not only get a handsome amount of souls, but her soul as well. You have multiplee options in how you use it:
- Feed the Soul of Quelaag to Frampt for 10,000 souls
- Consume it for 8,000 souls
- Use it to create Quelaag’s furysword
- Use it to create the chaos blade
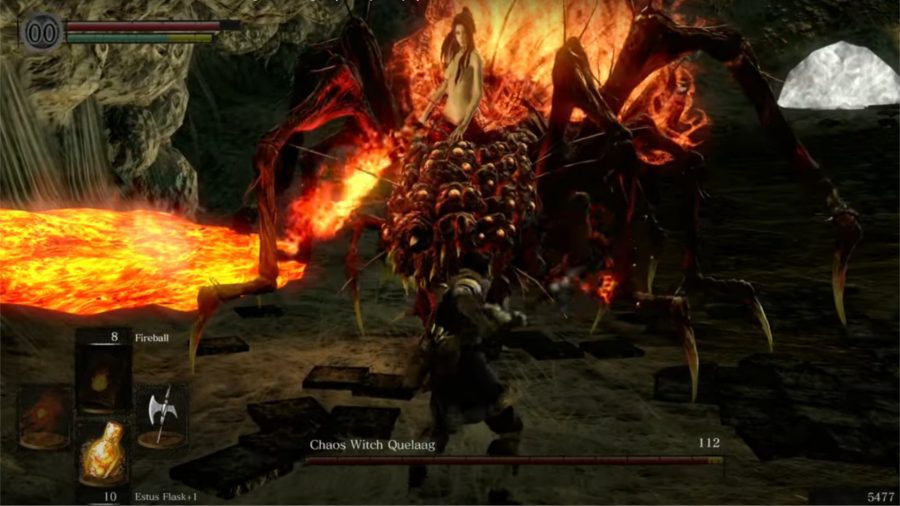
You can never say Dark Souls doesn’t treat you. Quelaag could have an Only Fans account – so long as she keeps showing off the upper half of her body anyway.
A bit of lore on this Chaos Witch. Quelaag is one of the daughters of the Witch of Izalith, and like her mother and some of her siblings, she was consumed by the chaos flame, thus becoming the spider demon you see before you.
When it comes to fighting this being, that has me questioning whether or not spiders are all that bad, you should note that she’s weak to lightning, and throwing knives stagger her should they hit the human part of her body. However, she’s immune to fire, so pyromancers need to adopt a different strategy.
Within minutes you’ll know how all of her attacks work, and given she heavily telegraphs them, you’ll squash itsy bitsy in no time. It’s important to stay in front of her, as Quelaag’s sword swipes are easy to dodge from here, and she likes to pause and spew a huge pool of lava. When this happens, you can run to the side of her and get some good hits in. It’s important to note that these lava pools do stay for a while, so if possible, lure her to the side of the arena. It gives you more room to manoeuvre if the fire pits are out of the way.
If you’re struggling, you can either call on another player at the Blighttown bonfire or summon Maneater Mildred – though this requires you fight her as a dark phantom in the poisonous swamps first.
Now that you’ve killed Quelaag, it’s only fair to tell you that she was only hostile as she was protecting her sister. So, yeah. Nice going.
Dark Souls Iron Golem
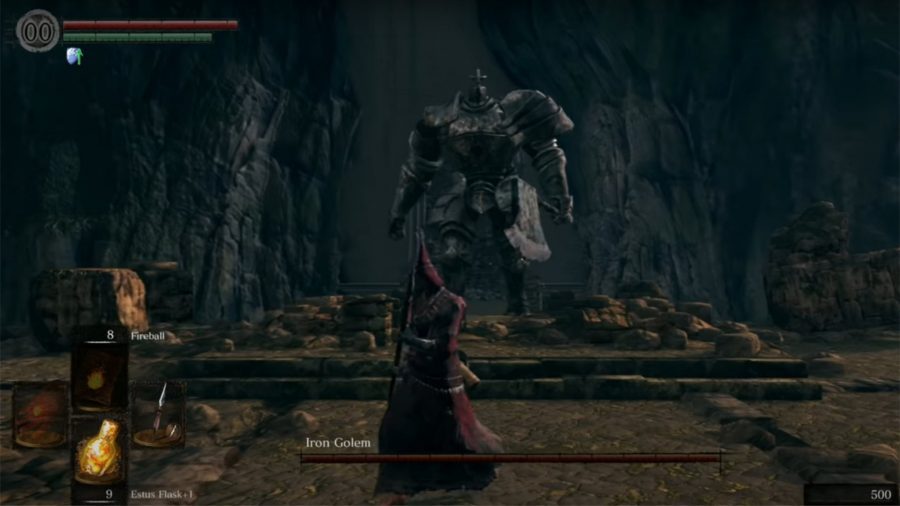
Your reward for making it through one of the most infuriating locations of Dark Souls is a David and Goliath-esque fight. Unfortunately, there isn’t much surrounding the Iron Golem when it comes to lore. He’s essentially stationed at the top of Sen’s Fortress to prevent the undead from reaching the land of the gods, Anor Londo.
The arena is relatively small, and does present the danger of you falling to your doom. However, if you’re swift like a butterfly and get the slow-moving golem to stand near the edge, you can topple it over the ledge. Should you hack at its ankle enough, the boss falls over, and if it’s teetering on the edge of the arena, it will tumble, meaning you can wipe it out before it even loses half its health bar.
Dark Souls Ornstein and Smough
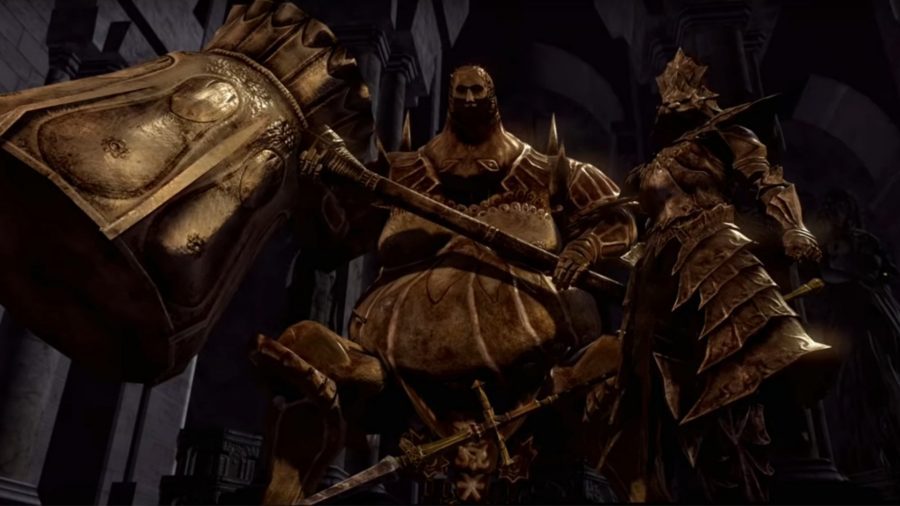
These two are the stuff of legends. Even if you haven’t played Dark Souls, the chances are you’ve at least heard of this formidable duo. Unsurprisingly, there’s some great lore surrounding these two. Firstly, not only is Ornstein one of the four knights of Gwyn, but he’s also the captain. Meanwhile, Smough was rejected as a potential knight by the god of sunlight, as he has a tendency to eat people. Yes, the great big Smough is a cannibal.
Honestly, this is the perfect example of a gank fight done right. The speed of Ornstein balances out the slow but heavy-hitting hits of Smough. In addition, the arena is designed beautifully, providing you with many pillars in which you can break up the formidable duo.
Now then, you have two options as to how you approach the fight. No matter what, one of them gets their health back and a serious charge up. However, it’s up to you who this happens to. Personally, I suggest killing Ornstein first, leaving you with a supercharged Smough. Sure, he hits harder and now has lightning damage, but he’s still a slow mover, with a moveset that leaves him open to punishment.
Dark Souls Pinwheel
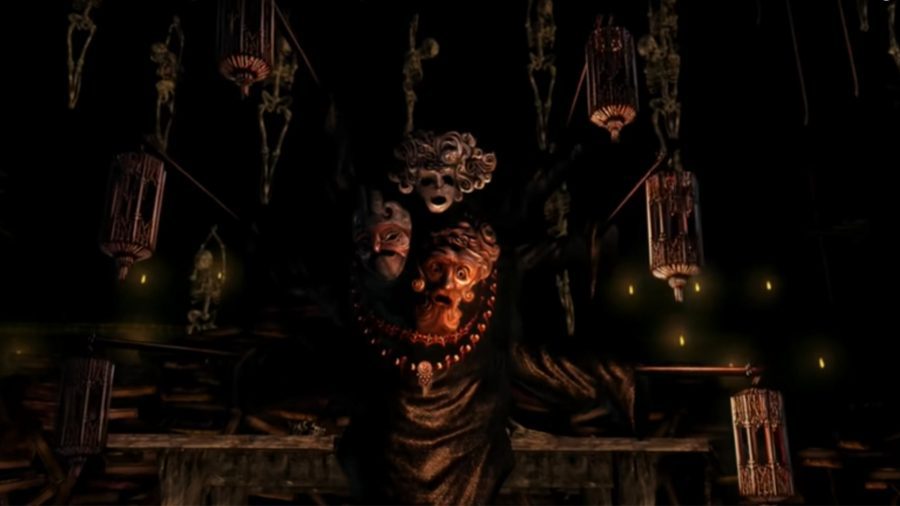
What a joke. Seriously, this is one of the easiest boss fights you’ll ever encounter across every game ever made. Unfortunately, I don’t have a great deal of advice to offer because you’re going to wipe the floor with this necromancer after roughly three hits, maybe a few more, depending on your current stats.
Admittedly, Pinwheel would cause more problems if you were to face him in the early game, but why on earth would you submit yourself to the horrors of the catacombs before you have to? I wouldn’t – sod those skeletons. Go on your journey, deal with things in Anor Londo, then head into the catacombs.
Dark Souls Nito
Ah, Gravelord Nito, this mighty being, is one of the four lords who fought the ancient dragons. He also happens to rule over the dead.
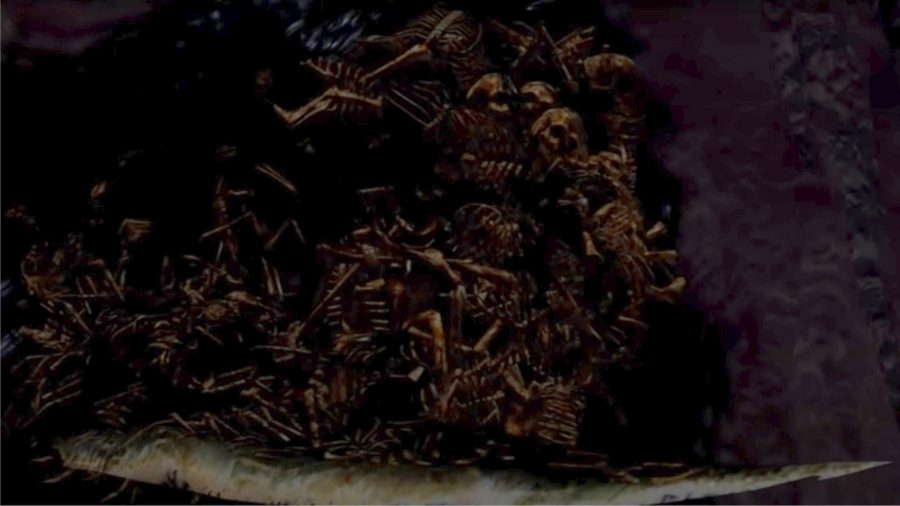
Skeletons. That’s all. This boss fight isn’t just against Nito, but his skeletal army too, which makes sense given he’s the gravelord. Unfortunately, to reach this rotting mass of bones, you must traverse through the Tomb of Giants – Dark Souls veterans everywhere feel your pain if you’re a first-timer.
Once you enter the arena, stay put. This might sound silly, but rushing forward means attracting all of the skeletons. If you let them come to you, it’s more manageable. It’s also helpful if you bring a Dark Souls divine weapon with you, as it keeps the skellys down after you slay them. The last thing you need is an army of undead bones trying to kill you while dancing around with Nito.
Should you do this, Nito becomes a cakewalk for melee fighters – finally, we sword wielders don’t have to try so hard. The boss is slow-moving, meaning you can get behind him for some free hits. Moreover, all but two of his attacks are blockable with the right shield, so it’s not like you’re taking any significant damage here.
One final tip, the king of bones is fragile to fire. Use this advice as you will.
Dark Souls Great Grey Wolf Sif
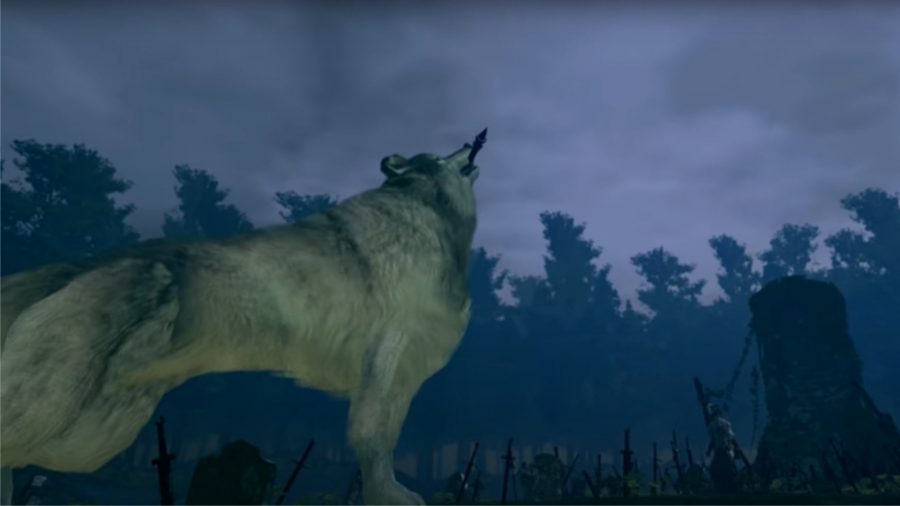
No one likes it when the dog dies, and it’s even worse when you’re the one to do it. Throw some devastating lore on top of that, and, well, you’re going to be questioning your moral compass for quite some time. Dark Souls’ Sif was once the pet of Artorias, a legendary warrior that unfortunately fell to the Abyss. Still, this loyal Great Wolf refuses to leave the final resting place of her master, defending the area from all trespassers, including you. Should you complete the DLC before encountering Sif, prepare yourself, as the boss remembers you. And that makes this fight all the more gut-wrenching as you saved this wolf in the past, only for you both to face each other now.
The fight itself is relatively easy. The giant wolf has a blind spot. If you remain underneath her, then chances are you’re going to avoid all incoming attacks. Eventually, she jumps away to create some distance, simply follow her and get under the belly of the beast once more. To make an easy fight even easier, attack her legs as this causes her to limp, slowing her down and hindering her mobility.
In the closing part of the fight, finish it quickly. Not because Dark Souls’ Sif poses any danger, but because she’s limping horribly, and frankly, it’s awful to look at. Put this pooch down, and mourn what was indeed a great wolf.
To learn even more about this majestic creature, make sure you visit our Dark Souls Sif guide.
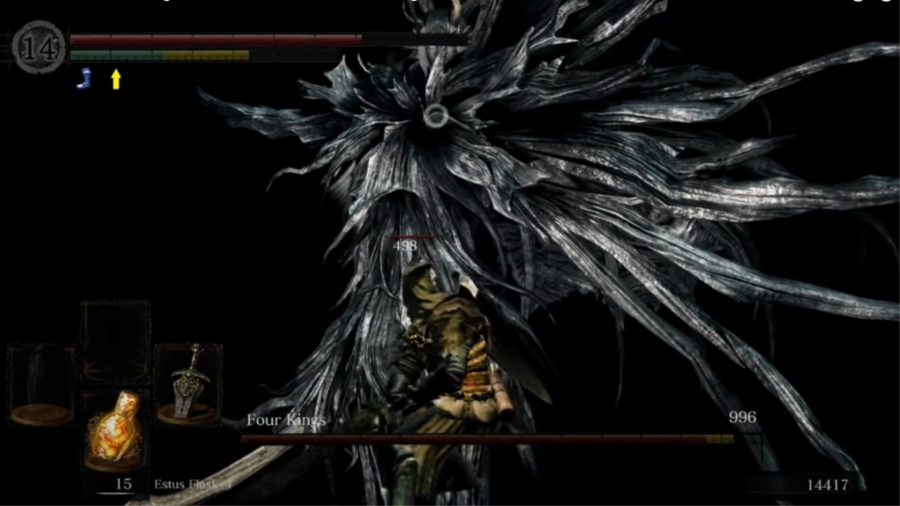
Dark Souls The Four Kings
The Four Kings were once righteous leaders that let their greed consume them. Falling to the Abyss, they were locked away, and their city – New Londo – was flooded to ensure no one would reach them again. Well, apparently, whoever that was didn’t get the message that determined undead needed the Four Kings’ soul.
If there’s one thing this fight needs, it’s speed. If you fail to take out a king lickity split, another will come in, and then another, then another, until you’re being ganged up on by four angry beings that hit hard with both melee and magic attacks.
As soon as you land in the Abyss, start rotating the camera as the first King can show up anywhere and will be in the distance. As already stated, speed is vital to avoid being outnumbered. Keeping with the speedy theme, make sure you equip yourself with light armour that allows you to be more agile. As such, you can easily dodge their attacks, especially when invading their personal space.
If you keep your distance, that’s when things get a bit more tricky as it takes longer to down a King, meaning more are likely to show up before you finish off the one in front of you. Furthermore, if there are multiple Kings, that can mean magic coming from various directions, which has the potential to pulverise you.

Dark Souls Seath the Scaleless
This is one bitter dragon. Seriously, he sold out his own kind, telling Lord Gwyn how to defeat the ancient dragons, resulting in their demise. However, Gwyn rewarded Seath for his treacherous ways, bestowing upon him part of his lord soul and giving him the title of Duke.
On your first attempt fighting Seath, the dragon isn’t in the room. Instead, you must walk to the other side, activating a cut scene. After this, it’s imperative that you run back to the end of the room and destroy the crystal. If you don’t do this, Seath’s immortality remains intact, meaning you can’t harm him.
No matter your play style, the key to beating Seath is to stay to the side of him. This makes it easy to dodge his attacks, lunge in for strikes of your own, and cast spells.
If you want the moonlight greatsword – a famous weapon known to every Soulsborne player – you must chop off Seath’s tail, though this is easier said than done as it has a habit of going through the fog gate.
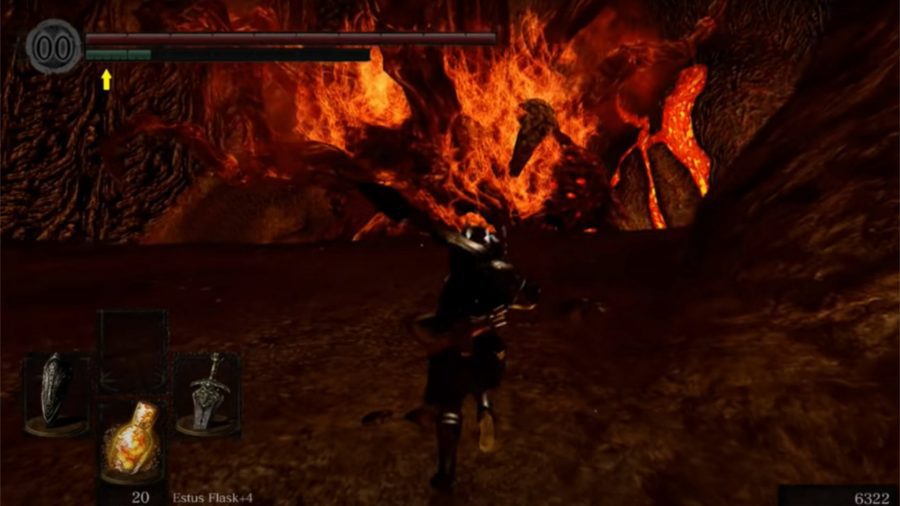
Dark Souls Ceaseless Discharge
This boss looks as disgusting as its name implies. However, if you learn more about the boss, you’ll find that it was once the son of the Witch of Izalith, turning into a demon alongside his siblings and mother when the chaos flame consumed them all.
Sure, you could cast some magic, or bait some attacks to hit it physically, but we have a strategy that requires nothing more than running. When you first encounter Ceaseless Discharge, it’s docile and has no intention of harming you. That’s until you get greedy and take his sister’s belongings from a makeshift shrine. Now he’s angry, so run back to where you entered. Stand there, and the boss will leap at you, but not quite reach you. Now, hit its arm a couple of times and hey presto, it falls to the fiery depths below.
Honestly, you have to feel a certain level of sympathy for this creature. It’s lost most of its family, is in constant pain, and the only meaning it had in life was diligently guarding its sister’s belongings. Then you come along – after killing one, or maybe even two, of its other sisters – steal from its lost loved one and knock it off a cliff. Not cool, Undead, not cool.
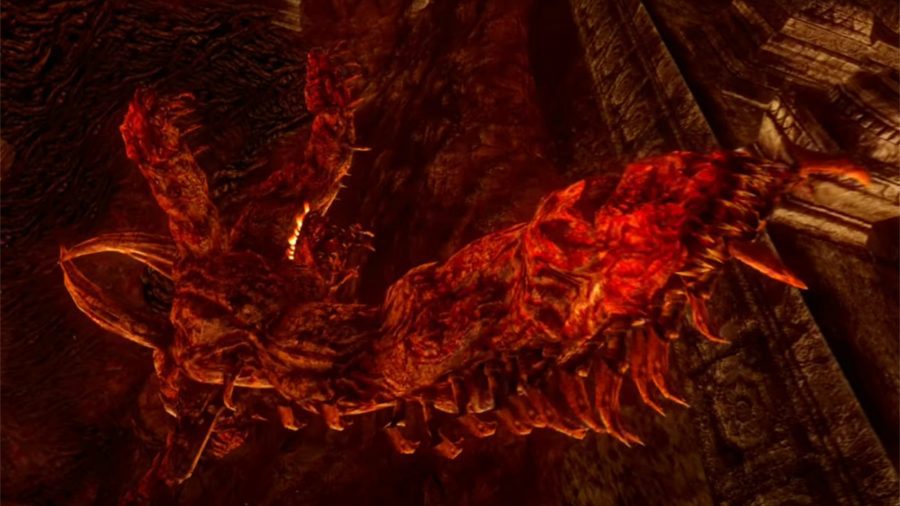
Dark Souls Centipede Demon
This boss fight is a pain. Make no mistake that it tests the patience of melee fighters. Magic wielders won’t struggle as much, but still, only having a small amount of space in which to move proves irritating. Unfortunately, you have no choice but to down this demon as it’s blocking the path to Lost Izalith.
If you’re a melee fighter, you’re in for a rough ride on your first run. If you’re going through on new game plus, do yourself a favour and use the orange charred ring, which you can only get after defeating this boss the first time around. Or, if the boss is feeling kind and gets within range, you can chop off its long right arm, which also drops the ring.
Most of its attacks are easy to dodge. The real issue is not rolling into lava. You could always bring Solaire in with you – assuming you’ve been doing his side quest. However, depending on what the Centipede Demon is up to, Solair could well just run into the fire and perish.
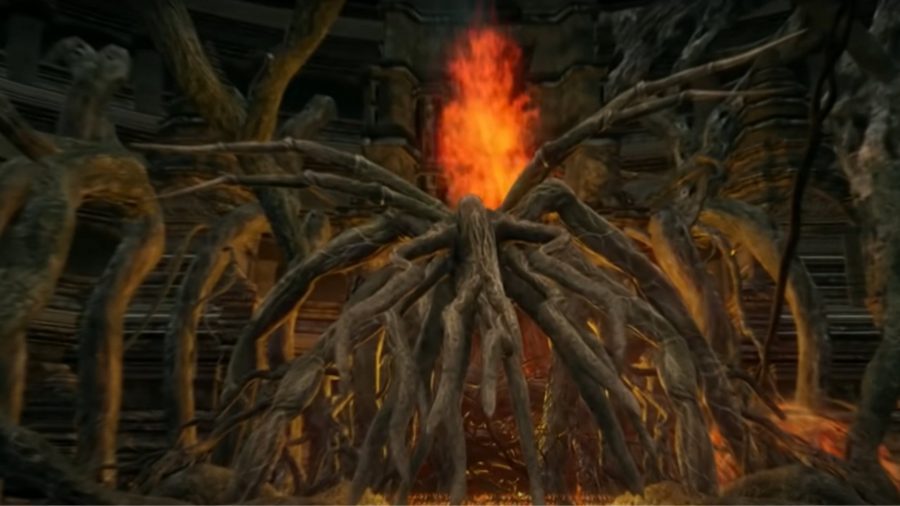
Dark Souls The Bed of Chaos
Just forget that you’re playing an action-adventure RPG with a heavy emphasis on combat, and embrace your inner Crash Bandicoot because this boss arena is essentially a platforming level.
This abomination is perhaps one the worst bosses I’ve ever had the misfortune of encountering. It certainly isn’t one of From Software’s finest moments, and what makes it worse is that this is the Witch of Izalith boss fight – one of the four main lords that aided Gwyn in his victory over the Ancient Dragons. Unfortunately, for such an important character, she got a truly disappointing boss fight.
For the most part, this is a puzzle boss with a sure path to victory as pieces of the floor give way as you work your way to either side of the room, destroying the root orbs. After you deal with them, the middle of the arena gives way. You must run and jump, landing on a branch in the middle. Follow it along as it leads you to a bug-like creature in the Bed of Chaos. One single hit here wins you the fight.
When running around the arena, do watch out for sweeping attacks. They don’t do great damage but could knock you into one of many holes. However, if you do fall, there’s no need to start the fight again. The orbs on either side of the boss don’t respawn, even if you die.
If you’re after a brief history lesson in how this mess came to be, the Witch of Izalith and her daughters attempted to recreate the first flame as the original began to dwindle. At first, it appeared as though this worked, but it didn’t. Instead, the chaos flame was born, engulfing the witch and her children, several of which you meet on your journey – Quelana, Quelaag, Ceaseless Discharge, and The Fair Lady.
Dark Souls Gwyn Lord of Cinder
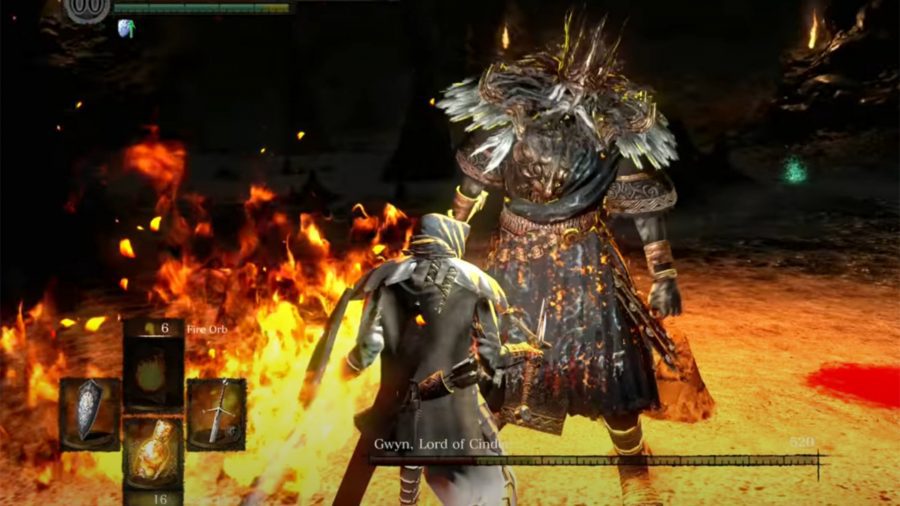
Ah, the man that started all of this. The age of fire began after Gwyn led the charge against the ancient dragons. Of course, he didn’t do it alone. Gwyn had the aid of the Witch of Izalith, Gravelord Nito, and Seath the Scaleless. He’s also the father of Gwyndolin, an optional boss you may fight in Anor Londo. As time went on, the fire began to dwindle, so Gwyn sacrificed himself to the flames, becoming a Lord of Cinder, and postponing the end of the age of fire.
If you’re a parry god, Gwyn is a laughable final foe. However, the majority of players struggle with this Lord of Cinder the first time they face him, especially since he’s likely to catch you in a devastating combo that sends you back to the grave. He also happens to be extremely fast and aggressive, testing all your skills.
There are several strategies available to you besides parrying. One of which is to arrive wearing heavy armour that can withstand the insane damage Gwyn dishes out – if you do this, be sure to equip Havel’s ring. You should also use a shield with great fire and physical resistance, perhaps the black iron greatshield. With all this equipment, it’s best to stay closer to Gwyn, but maintain a little bit of distance to avoid his grab attack. Seriously, if he gets hold of you, it’s game over. He takes away most of your health, if not all of it.
After baiting and avoiding his grab attack, dash in and land some hits – rinse and repeat. Of course, you could just go mano-a-mano with him, which makes for an intense fight, but if you need a strategy, go with safety first. Failing that, bring in another player or Solaire. The latter of which is only available if you complete his questline.
Now that you’ve dealt with the first Lord of Cinder, you have a choice. Continue his work and the age of fire, or usher in the age of dark.
To discover even more about this important figure, head over to our Dark Souls Gwyn guide.
Optional Dark Souls bosses
Dark Souls Moonlight Butterfly
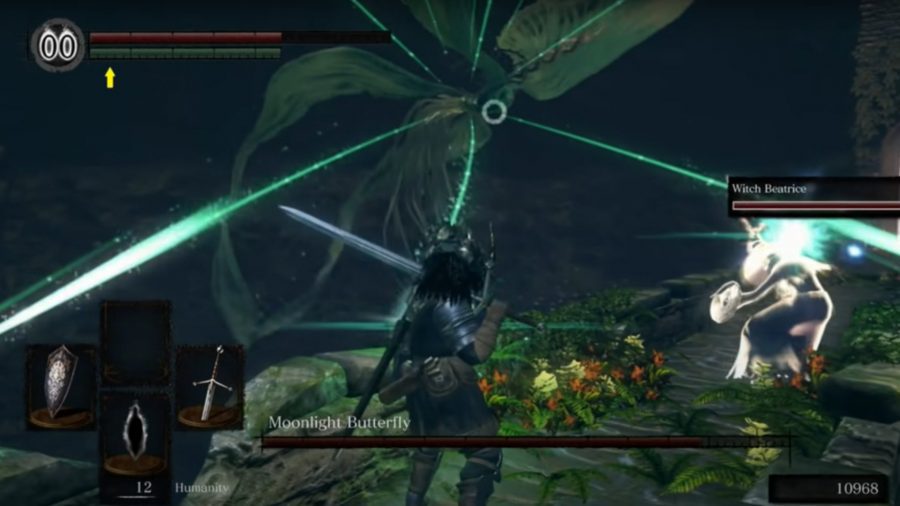
And the award for most boring Dark Souls boss goes to the Moonlight Butterfly. If you’re a melee fighter, I suggest bringing a magazine with you or something. This butterfly is a little tease that shoots things at you from a distance while hovering just out of reach.
As all of its attacks dish out magic damage, you should enter the battle with the crest shield for its high elemental resistance. Failing that, the spells are easily telegraphed, and more often than not, present you with ample opportunity to dodge. If you’re a miracle user or have the bow and arrow, this fight is a breeze.
Not to worry if you’re using melee, as the boss does come in close to recharge – it just takes a long time to happen, hence advising you to bring a magazine while you wait. Or, you could bring in Witch Beatrice, and let her wreck the Moonlight Butterfly.
Dark Souls Gaping Dragon
If you chose the master key as your gift at the beginning of the game – and if you didn’t, I seriously have to question why – you can skip an entire area, The Depths, which happens to house the Gaping Dragon. Honestly, this isn’t a nice area to visit, so you’d be wise to give it a miss. That, and entering Blighttown from this area, is utter madness that could have you launching your game out the window.
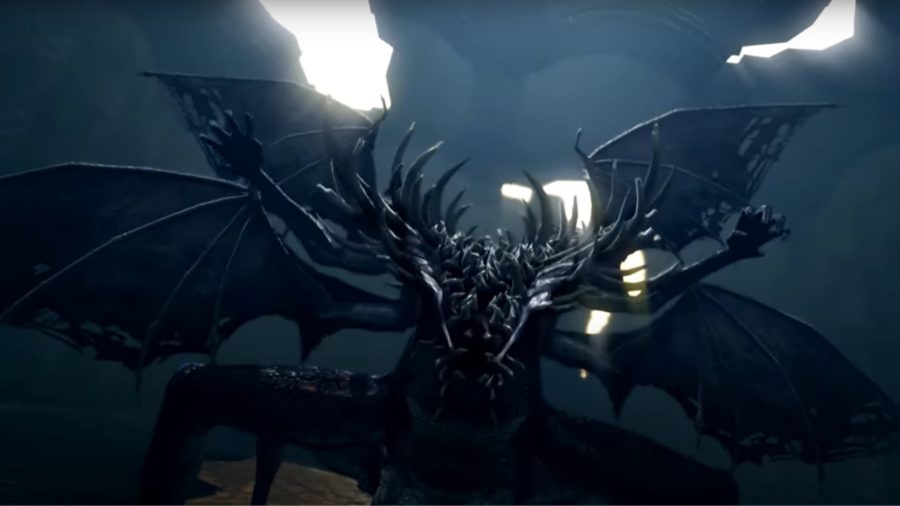
However, should you transcend into this squalor, you come face to face with the Gaping Dragon, and it looks um, well, have you ever seen the film Teeth? Anyway, upon first entering the boss room, stay away from the creature. It won’t take long for it to aggravate and drop its head, which is vulnerable to attacks.
The Gaping Dragon has a slam move in which it throws itself ribcage first to the floor. This can be devastating if it hits you, so keep your distance. However, this stuns the boss for a few seconds, giving you the chance to wail on its head, though do be cautious as it can follow up with a dash attack.
To give yourself an easier time of it, you can bring in a summon, and make sure to take out the channeler that overlooks the boss arena. Otherwise, it will continuously hurl magic spells at you throughout the fight.
Dark Souls Stray Demon
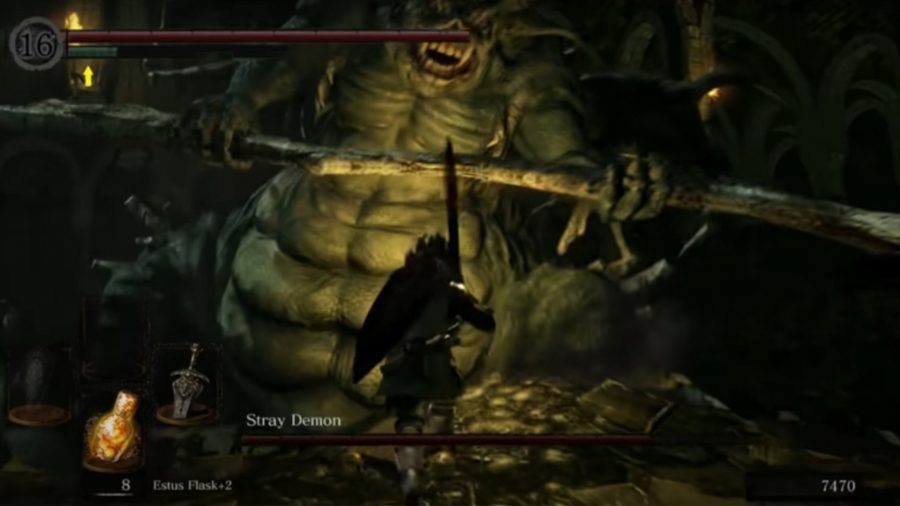
Ugh, as incredible as Dark Souls is, there’s the odd hint of what feels like lazy design, and this is the first example of it. To actually find the Stray Demon, you must return to The Asylum, which you can do by pretending to be an egg in the nest above FireLink Shrine. No, I’m not joking. Once back in the area, re-enter the Asylum Demon’s boss room, the floor will crumble and send you tumbling to a second room below. As you might have guessed, it’s home to the Stray Demon.
The way to victory with this fight works similarly to the Asylum Demon. Want to know why? Because they’re the same damn demon, except this version gets AoE damage to its attacks, so keeping a bit of distance or having perfect dodges helps.
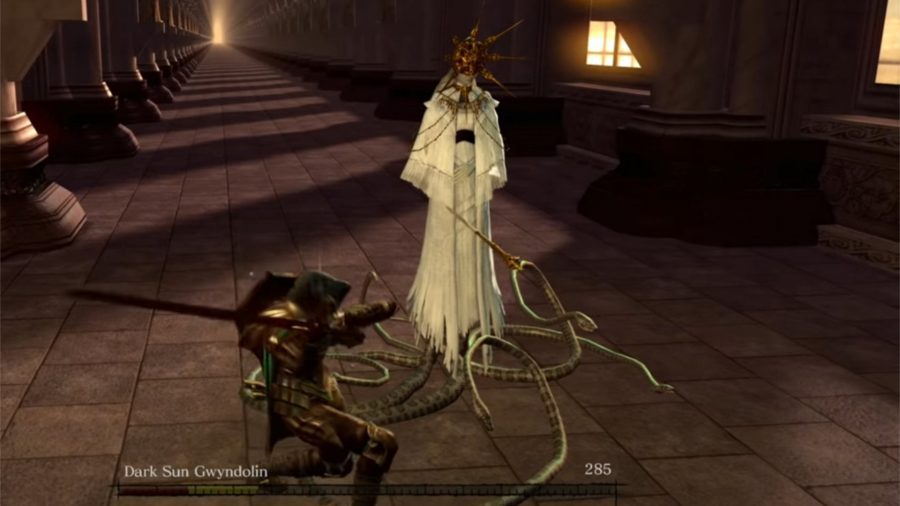
Dark Souls Dark Sun Gwyndolin
I’m going to be honest. I might have an unhealthy obsession with Gwyndolin. I find the lore surrounding this god to be fascinating. Gwyndolin is the youngest child of Lord Gwyn, born a boy, but raised as a girl. The reason being, this god has a strong affinity with the moon, which makes them effeminate. Thus their parents made the decision to raise them as a daughter. However, this was clearly to the displeasure of Gwyn.
When exploring Anor Londo, you find a statue of Gwyn with two more figures on either side of him. One is of his daughter Gwynevere, while the other has since been removed, but did once resemble his firstborn son. However, there’s no statue of Gwyndolin, nor is there any sign of one. But, you can find this boss hiding behind an illusion, which the statue of their father hides. You have two options when it comes to reaching Gwyndolin. The first is killing the illusion they made of their sister, which you find after defeating Ornstein and Smough.
Or, you can travel deep into the Catacombs and find the darkmoon seance ring. This item allows you to remove the illusion and descend to the fog gate below. I should mention that choosing this option means Gwyndolin isn’t hostile. Deciding to kill Gwynevre is another story.
Gwyndolin does have one of the more interesting boss fights because it’s a long corridor. You must run down it while avoiding their magic. If you’re a sorcerer or pyromancer, you may strike from a distance – hide behind a pillar and pick your moments. If you use melee, grab a shield with high magic resistance and run, or use the pillars as cover as you proceed down the hall.
The boss doesn’t have great defence and will crumble when you strike them. Rinse and repeat down the corridor until Gwyndolin is vanquished. Note that if you choose to fight Gwyndolin, you can no longer join the Blade of the Darkmoon covenant.
If you want to learn more about Gwyn’s youngest child, make sure you check out our Dark Souls Gwyndolin guide.
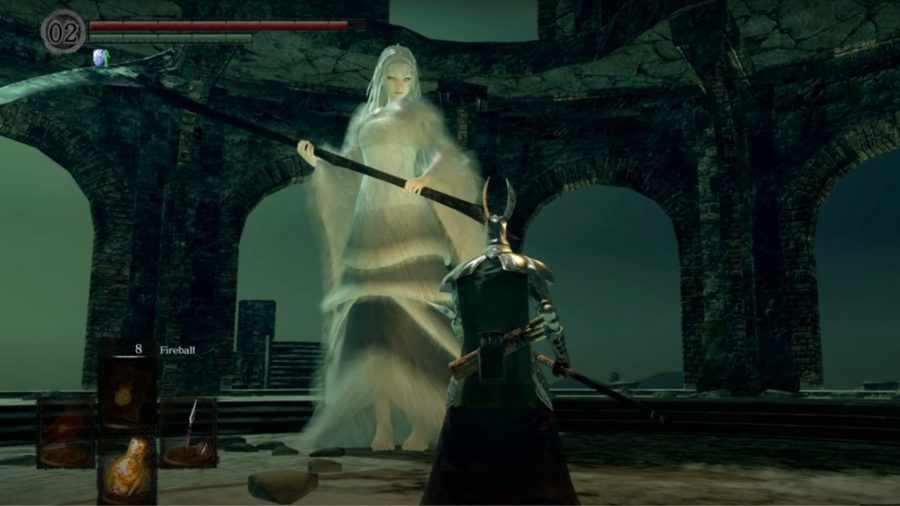
Dark Souls Crossbreed Priscilla
Priscilla closes out what is arguably one of the more interesting Dark Souls areas – the Painted World of Ariamis.
When it comes to her boss fight, Priscilla has an interesting mechanic in that she can turn invisible. Now, before you run around in a panic, stay calm and poised. The Painted World of Ariamis is smothered in snow, and the boss arena is no different, meaning you can see her footprints.
Her weapon of choice is a scythe, which gives her some decent reach when attacking, but you can counter these easily. Alternatively, you could block her attacks with a trusty shield, though this is only a viable option should you have a good strength build and the stamina to withstand the hits.
To be honest, she’s not an incredibly strong boss. The only thing she has going for her is turning invisible, but that advantage disappears when you see her footprints in the snow.
Oh, and don’t forget to cut off her tail. If you do, you get Priscilla’s dagger. Though, you can do this without causing her to aggro if you don’t attack her from the front after speaking with her. So, you can get your new toy without fighting her, simply drop off the edge of her boss arena. This also means you don’t get a sin against your name.
If Priscilla intrigues you, head over to our Dark Souls Priscilla guide to discover more about her.
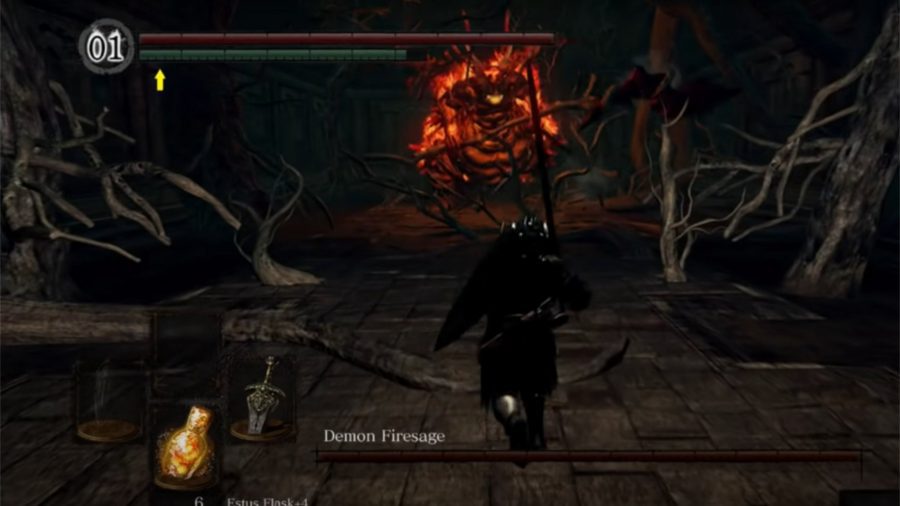
Dark Souls Demon Firesage
While technically optional, the chances are most of you will face this boss on your first run-through. This might also be the third time fighting this boss in a single playthrough. Let me explain. The Demon Firesage is a reskin of a reskin. First, there’s the Asylum Demon, then the Stray Demon, then finally this fiery devil.
As the name implies, the primary difference between this demon and its long lost cousins is that it causes fire damage. Therefore, you should come equipped with armour that offers great fire protection.
If you faced the Stray Demon, you’re more than prepared for this fight as his actions are essentially the same, just with fire damage. Repeat the strategies from the previous two demons, and victory is yours.
Dark Souls DLC bosses
A bit of advice before you step into what is one of the best DLCs ever created. This is tough, and you’re in for a tricky boss fight the second you enter the expansion. As such, it’s a good idea to save these boss battles for the end of the game when your build is complete, and the undead is a certified badass.
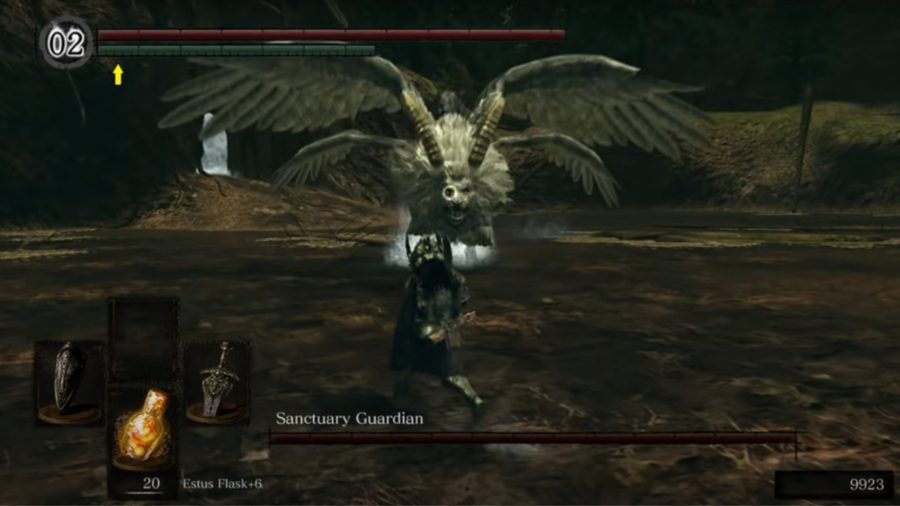
Dark Souls Sanctuary Guardian
The first Dark Souls DLC boss is the Sanctuary Guardian, and its job is simple – don’t let people through to the Oolacile Sanctuary. Long ago, the Abyss ravaged the lands of Oolacile, and frankly, you’re a bit of a madperson to want to go there.
First things first, this boss uses lightning attacks, so bringing a high lightning resistance shield with strong physical resistance is a good idea – the silver knight shield is a perfect choice. If you want to give yourself an even easier time of this fight, you should also equip a lightweight armour that makes moving around easier.
For the most part, this boss’s moves are easily telegraphed, and if you’ve been practising your rolling and dodging skills, you shouldn’t struggle against the Sanctuary Guardian. As soon as you enter the arena, the creature charges you. After that, simply roll out the way and punish it. If you’re a melee fighter, you should hug to the side of the boss, keeping your shield raised when not attacking just to be on the safe side. Sorcerers or pyromancers can do the same thing, or fight from a distance, though this does mean the chimaera shoots lightning at you from a distance.
The Sanctuary Guardian also has a poison-inflicting tail attack. Getting out of the way shouldn’t be too difficult, but bring some moss with you just in case it lands.
In case you’re wondering, as with other Dark Souls bosses, you can cut the tail off the guardian to get an extra weapon.
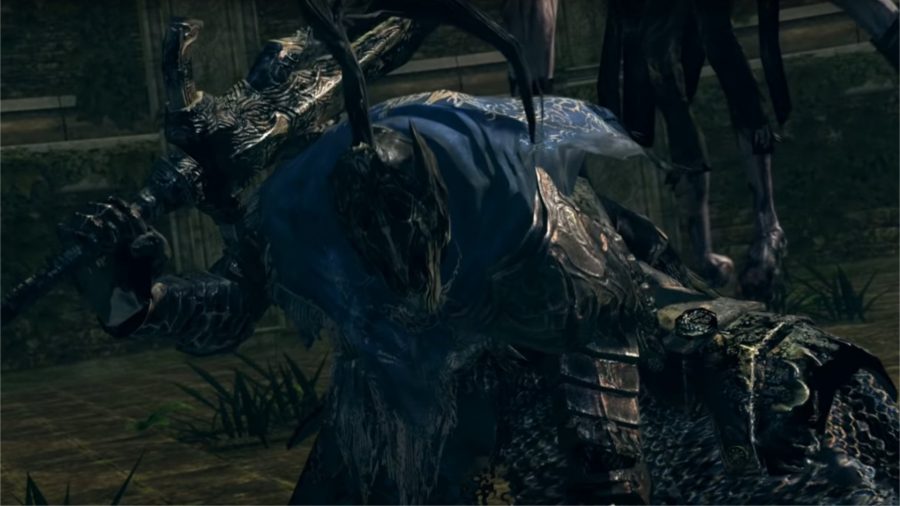
Dark Souls Artorias The AbyssWalker
Arguably one of the best From Software bosses of all time, Atorias is a treat, but prepare yourself. He’s no pushover. From the minute you step into this arena, it’s clear this isn’t the legendary knight of old, but a husk of his former self, one that fell to the Abyss. Originally, Artorias was one of the four knights of Gwyn, that is until he discovered the art of Abysswalking, which led him to his death at the hands of Manus. The knight then sacrificed his great shield to protect his loyal companion, Sif. As time passed, he became fully corrupted by the Abyss, the thing he swore to fight.
Now that you have a bit of history on Artorias, let’s discuss his boss fight. Don’t let the fact he has use of only one arm fool you. He wields that great sword ferociously, and is sure to cause some damage should he hit you. Overall, he’s one of the most aggressive bosses in the game, but this makes it feel like a dance between two warriors. To get the best of Artorias, you need to read his movements – this is vital, one wrong step, and he’s going to unleash the combo wombo.
If Artorias leaps into the air, use a quick roll to the right, and make sure you do this three times before charging in. When you do head in to attack, don’t be greedy. Depending on your choice of weapon, go for two or three hits, then retreat. Another move to watch out for if you want to land some counters is his charging attacks. Again, you want to roll to the right, then dash in yourself and deal one or two hits.
It might be tempting to go for some hits when Artorias performs standing strikes, but resist the urge unless you’re a dodge master as he tends to follow these swings up with a devastating spin that’s hard to get away from. Oh, and partway through the fight, he attempts to buff up through the power of the Abyss, stop him if you can, or his attacks become even more dangerous.
Of course, if you happen to be a heavily upgraded pyromancer, Artorias won’t pose so much of a challenge, as he does to melee fighters or regular magic users. Just make sure you equip a 100% high stability shield before heading in.
If you want to know everything about this legendary warrior, head over to our Dark Souls Artorias guide.
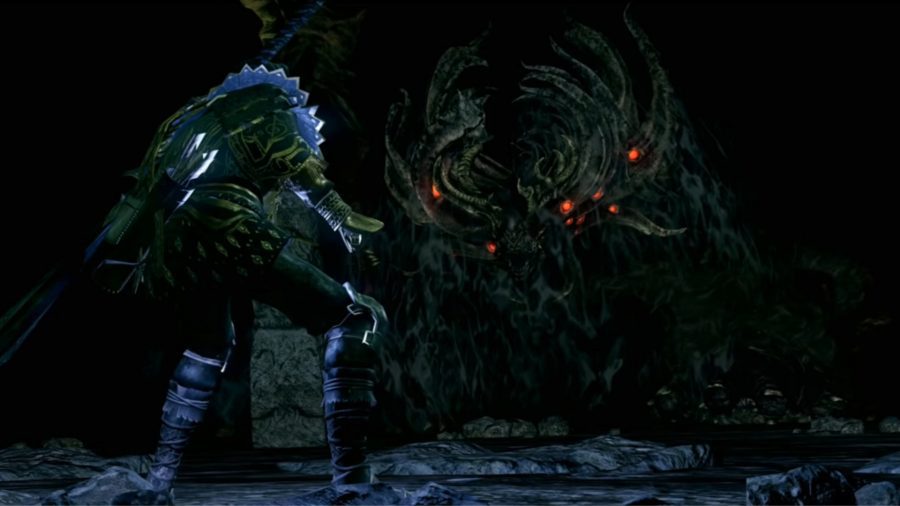
Dark Souls Manus, Father Of The Abyss
Remember that poor grey wolf you killed earlier? Of course, you do. Well, Sif can help you in this fight as a pup. If you found the animal on your travels through the preceding area and helped her, then the favour is returned as Sif becomes a summon for the Manus boss fight. This boss is fast and highly aggressive, so taking the wolf with you is a good idea.
Manus serves as the final compulsory boss of the Dark Souls Artorias of the Abyss DLC, so expect a difficult time. To begin with, this boss uses physical attacks such as a hand slam, slash combo, and a close hit frenzy attack that sees him go on a mad one with six consecutive strikes. Your options here are to either be a dodge master, or bring a beasty shield with you.
At first, dealing with his attacks isn’t too much of an issue, and you can find a steady rhythm, but when he’s at 60% health, Manus begins to use dark magic. If it hits you, this could be a fight ender. However, all of these attacks are blockable – good thing you brought that shield, aye?
Believe it or not, this monster was once human, but then he got angry, dragging the poor citizens of Oolacile down into the Abyss with him.
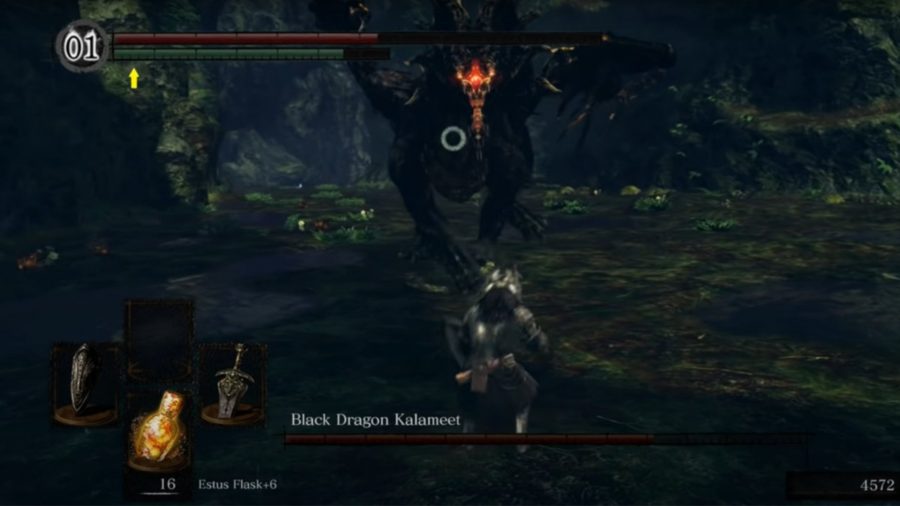
Dark Souls Black Dragon Kalameet
This fight will test everything you have learned on this long and arduous journey. Remember that angry black dragon that eyes you up after landing on a bridge in the Royal Woods? Yeah, that’s this beast. If you’re feeling courageous, it’s possible to face Kalameet, but first, you need Hawkeye Gough to shoot him down. However, to reach the archer, you must find the crest key.
Throughout the series, there have been several dragon bosses, yet none quite match up to the reputation of Kalameet, and frankly, this is a tough fight. Still, the satisfaction you feel when finally overcoming the challenge is immense.
I know it’s only natural to want to bring fire resistance gear to a dragon fight, but hear me out. Kalameet’s black flame deals more physical and magic damage, meaning a fire-resistance shield is as helpful here as a soggy tissue. Honestly, you should consider bringing something like the crest shield with you. However, if you’re a straight-up melee fighter, go and get the greatshield of Artorias. It’s going to save your life.
If you’re going for up close and personal attacks, stay close to the dragon, but don’t, under any circumstance, go under him. When he breathes fire, use your shield as protection, though do bear in mind this guzzles your stamina. To begin with, study the dragon. After a minute or two, his moves show some tail signs. To be honest, this is a fight of patience. The chosen undead must be in this for the long haul.
As for magic users, dodging out of his range and hurling soul spears or crystal soul spears at him leads to victory. Just time your dodges, and you’ll be fine.
And there you have it, a bit of history and some tips on how to beat each of the Dark Souls bosses. If you’re ready for a new adventure, you can take a look at our picks for the best Switch RPGs and best Switch platformers here.


